
HOW TO: Eliminate Render-Blocking Resources & set Critical Path CSS with Autoptimize
In WordPress terms, render-blocking resources comprise of Javascript and CSS that loads in the header (or above-the-fold, the first section of a site you see before you scroll). The page won't appear until they're finished loading - making for a longer pageload time and a generally poor experience for your visitors.
Usually only a few of these resources actually need to load - if at all. The less render-blocking resources in your header - the faster the page will load. This is particularly true of mobile, where the browser has longer wait times to download all the resources required due to a slower network as well as generally less RAM to process the page render.
We'll start by addressing the CSS which is a bit more involved - and then knock out the Javascript at the end.
Critical path CSS is awesome. Google Pagespeed Insight and Lighthouse love it - and it (often) makes sites faster.

With Critical path CSS you can load only the code necessary to paint the page, and push the rest to the end of the pageload - after the render.
Keep in mind you can have this done automatically with a plugin like WP Rocket, or Autoptimize's sister plugin, Autoptimize criticalcss.com power-up - and both will save you a good deal of hassle. They also both apply the following method on a per-page level. But...
...you have to pay for them.
While they're both awesome additions, if you want to do this method to test or you're on a tight (or no) budget - read on.
With this method you'll be using Autoptimize to gather all your CSS together into one file. There's plenty of debate about whether this is a good idea or not.
If you're utilizing HTTP 2/0 fully, serving a bunch of smaller CSS files is theoretically faster than sending one big CSS file. Ultimately though, it all depends on your site, and how much CSS you have. So try this out, if it makes your site faster, you're welcome. If not, you know a new thing.
Fixing Render-blocking CSS: Generating Critical Path
Install Autoptimize click Show Advanced Settings and enable the following settings under the CSS Options heading:
- "Optimise CSS Code?"
- "Aggregate CSS files?"
- "Also aggregate inline CSS?"
- "Inline all CSS?"

Click Save Changes and Empty Cache.
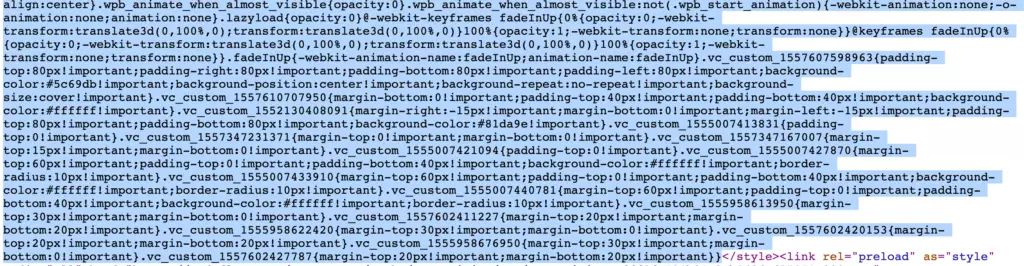
Open up your homepage in an incognito window, right-click and select View Page Source. Select all the code (which is likely most of it) between the style tags, starting after <style>…

…and ending right before </style> (it might start like <style type="text/css" media="all"> or something similar).
Go to an online critical path generator. This is where we'll generate the CSS that needs to be render-blocking so we can separate it from the rest.
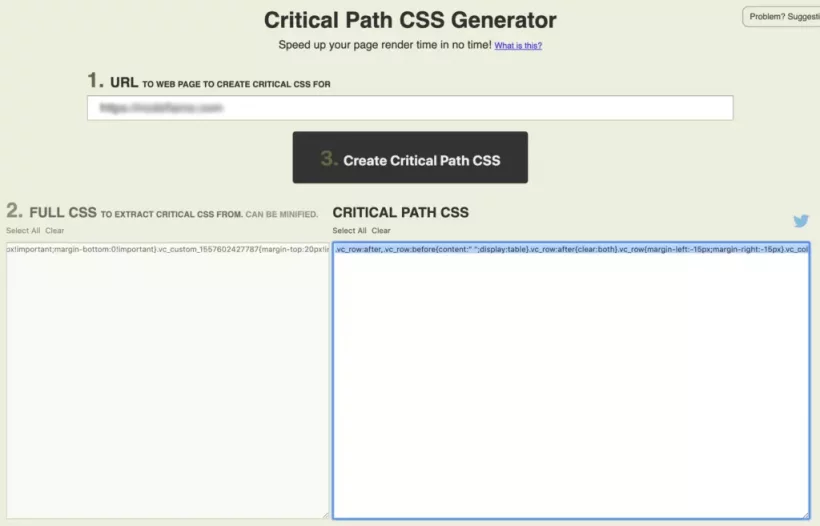
For this example, we'll use this CSS Generator. Follow that link and enter the homepage URL, (including the https://) then paste the CSS you just copied into the next box: 2. FULL CSS TO EXTRACT CRITICAL CSS FROM.
Click Create Critical Path CSS. The last box (Box 3) will populate with the critical path CSS. You'll notice the character count at the bottom of the last box is much lower than the one on the left.
NOTE: On this particular site, you can paste a maximum of 800,000 characters in the box on left. You may find your CSS goes over that limit, especially if you're using Visual Composer. Not to worry though, you can copy all your CSS to a text editor first and copy in chunks of 2 or 3. When you're splitting the CSS to copy, be sure you make the splits after/before divs or classes - look out for natural breaks in the code - don't just split it in between a word or a value.
Lastly, copy the critical path CSS from the box on the right (box 3) and head back to your Autoptimize settings.
Select Inline and Defer CSS?. You'll notice an input box appear and the setting you selected earlier Inline all CSS? will automatically deselect. Paste your new CSS in that input box.
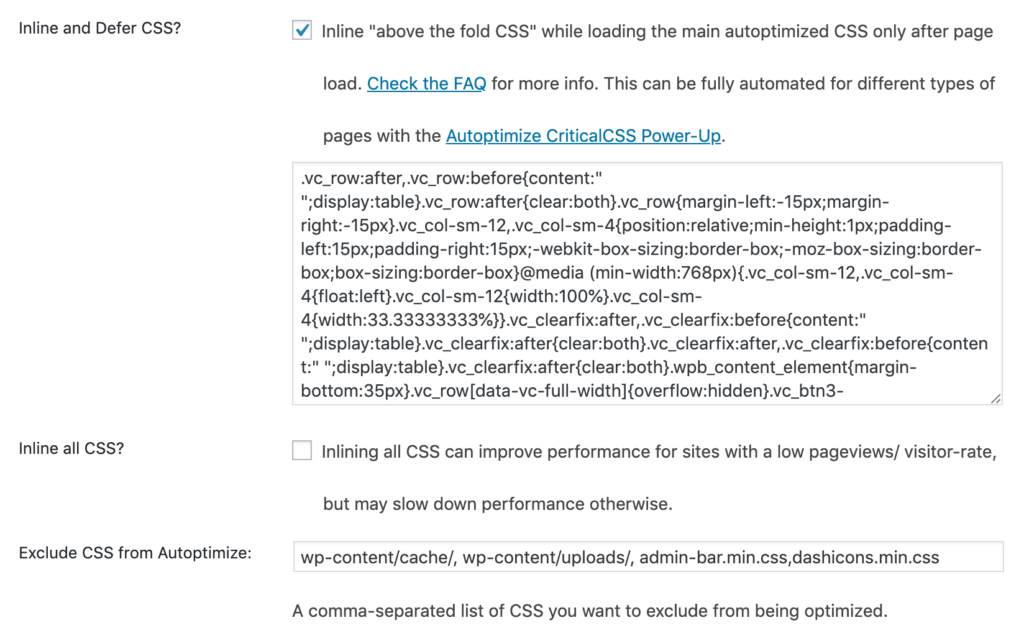
Click Save Changes and Empty Cache to make all other CSS non render-blocking. CSS taken care of.
PRO TIP #1 (optional): Remove unused CSS
To take full advantage of this method, you'll want to remove any unused CSS files first. Check out our article Dequeue Unused Scripts & Styles Reference first if you haven't already. Keep in mind, you'll want to make sure Autoptimize's Aggregate CSS-files? option is off while following that guide or you won't know which CSS files are which - you'll just get one big cached CSS file.
PRO TIP #2 (optional): Detect unused render-blocking resources
You might also want to check out a tool for stripping down existing CSS within the files that you're loading using a tool like PurifyCSS, or Google Chrome's own Coverage tool built into the browser since version 59. Keep in mind that while these tools may show CSS as unused on your homepage, it may be used on other pages (and vice versa) so there could be a good deal of trial and error when it comes to doing this. You might even want to split your CSS files into duplicates per page (ie. style-homepage.css, style-blogpage.css, style-articlepage.css).
PRO TIP #3 (optional): Set Font-display value as Swap
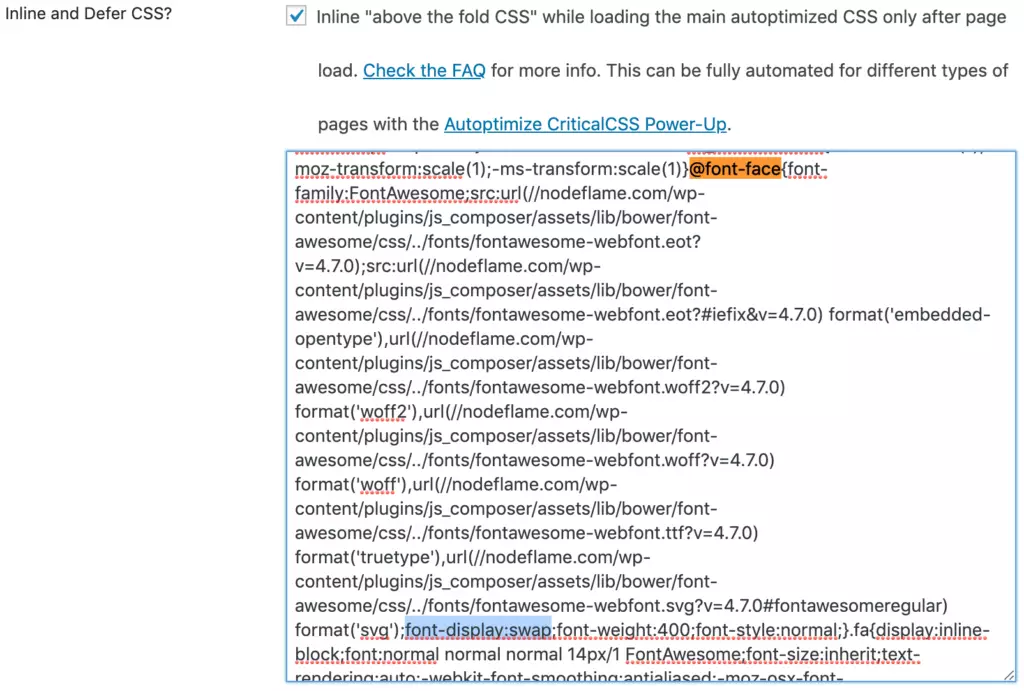
Now that you have your critical path CSS setup, you may want to see if it caught any of your fonts so that you can add font-display:swap. Without going into detail, this value allows text to load before it's assigned font is loaded. More importantly, Google Pagespeed Insights & Lighthouse really likes it.
So, while you're on the Autoptimize settings page, do a page search for @font-face and find the section shortly after it where the values are set (where things like font-weight, font-size and font-style are set). Add in this value: font-display:swap;
You can also use a plugin called Asset CleanUp: Page Speed Booster, that has among its options a tool to rewrite any font-display html to include the swap value. You can also use this plugin to strip entire CSS and JS files from the page load by dequeuing them which is covered here.
Fixing Render-blocking Javascript: Asynchronous loading
So that's the CSS taken care of. What about the render-blocking Javascript? The Autoptimize folks have us covered again. Go ahead and grab their other sister plugin Async Javascript. The method is far easier than the CSS one above. Just a couple of clicks and you'll be all set... or potentially some trial and error if your site completely breaks after enabling (again, trial this on a test copy of your live site)
Click Enable Async JavaScript? and Apply Async (jQuery excluded) OR Apply Defer (jQuery excluded).
The Async option (or asynchronous) means the JS code will load in parallel to the page load whereas the Defer option will hold the JS code will be pushed to the footer and won't load until everything does. Either option is fine, but Async is theoretically faster.
What does jQuery excluded mean though? A bunch of other Javascript files are dependent on jQuery.js which means it needs to load before them or they'll break. In other words, while you're specific site may be able to get away with asynchronously loading jQuery.js - it's unlikely, meaning this file generally needs to be render-blocking. While it's definitely possible to load it asynchronously and guarantee it loads before other Javascript code, it takes quite a bit of work which I won't cover here so I suggest excluding it for now.
PRO TIP #4 (optional): Remove unused JS
Same as PRO TIP #1, to take full advantage of this method, you'll want to remove any unused JS files first. Check out our article Dequeue Unused Scripts & Styles Reference first if you haven't already. Keep in mind, you'll want to make sure Autoptimize's Aggregate JS-files? option is off while following that guide or you won't know which JS files are which - you'll just get one big cached JS file.